
How to publish React Native app on Google Play Store
Mobile app development is a long process where you need to create the codebase, debug any error if it occurs, and most importantly publish it to the definite app store (Google Play store or Apple App store). So, here, we will cover the detailed steps of publishing applications on the Google Play Store.
If you want to know the steps of publishing an app on the App store, then you should not continue with this blog.
Before starting with the actual process of publishing an app on the Play store, we will cover some theoretical concepts. This includes the prerequisites context and the consideration of the Android App Bundle Publishing format.
The correct publishing format- Android App Bundle
Yes, you have to learn the right publishing format and it is the AAB format. Also, this is not an option but you have to comply with this. Earlier, publishing Android apps on the Play store was done using the APK format. Considering AAB first not only helps you with reducing the app size but you can use other features like ‘Play Feature Delivery’ and ‘Play Asset Delivery’. However, Play Asset Delivery is specific to Gaming apps.
Prerequisite context
You cannot proceed with the current project if you are not familiar with the two prerequisite contexts, namely the steps of the React Native environment setup and the steps of creating a React Native app. There is no value in proceeding with the steps of publishing apps if you have no apps to be published. Right? Since we are considering React Native framework, you have to get the complete environment in your development system.
Here, I am providing you with two reference links. One for each pre-requisite criterion for making your understanding easier. Click on the link to learn the React Native environment setup and visit the blog to learn How to make react native apps responsive.
Now, we will learn the fundamental steps of what we are headed towards.
Publishing React Native apps- Fundamental Steps
Generating the app’s Release Version
Any app has two categories of build variants. These are debugging variants and release variants. App Variants are also termed App Version. When you publish a new app, it is the release variant of version 1. As you go on making updates to the apps and direct the made updates to be visible in the app, the version of the app increases.
Here, we will be creating the release version of our app.
Follow as I suggest.
- Building the upload key for your app
- Go to your local C drive and look for the path \Program Files\Java\jdkx.x.x_x\bin. Copy the entire path.
- Open Cmd from your system and don't forget to run it as administrator. Pass cdC:\Program Files\Java\jdkx.x.x_x\bin in this command prompt. (x.x.x_x)in this command is the version of JDK. In my case, it is 17.0.3.1.
- Then pass the
keytool -genkeypair -v -storetype PKCS12 -keystore my-upload-key.keystore -alias my-key-alias -keyalg RSA -keysize 2048 -validity 10000. - Then provide the keystore password.
- Going forward, you also have to provide other data like your name, organizational name and the organizational unit, and others.
- After you are done with providing all the information, your key will be created.
- Refer to the below-given image for the key I have generated for my project. You can find the key that you will be creating for your project in your local C drive.
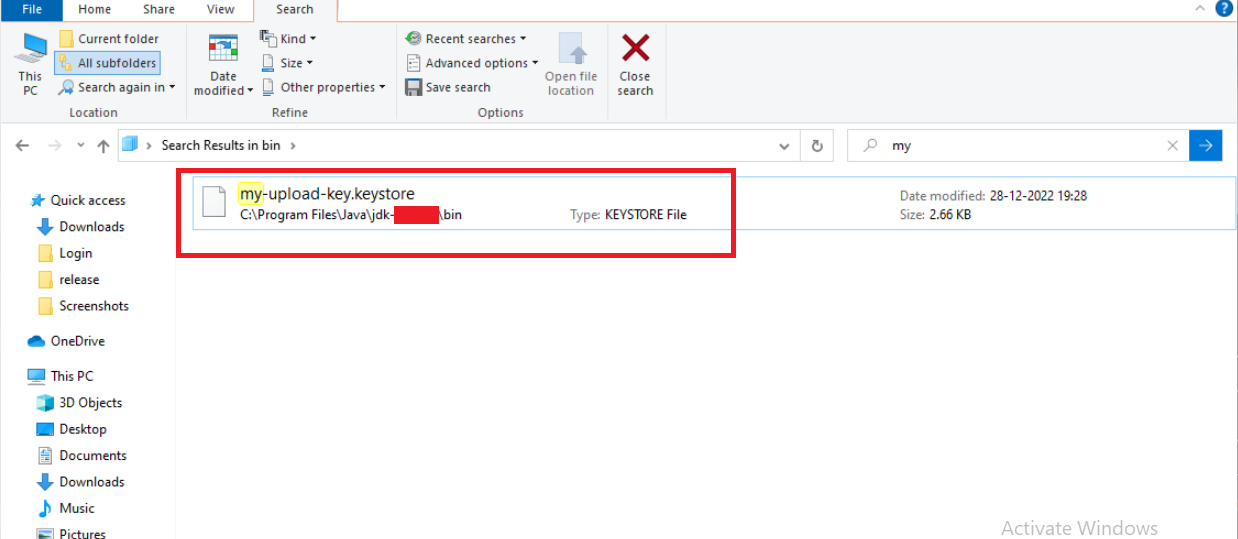
Make sure that this key is not lost or destroyed. You should keep the key in a safe place. In case it is lost, you can always visit the link and look for a possible solution.
- Make changes in the Gradle file of your project
Go to the folder where you have stored the generated key and copy the file.
Simply paste the folder into the android/app. Note that this path is inside your project.
Copy the entire code syntax
1
2
3
4
MYAPP_UPLOAD_STORE_FILE=my-upload-key.keystore
MYAPP_UPLOAD_KEY_ALIAS=my-key-alias
MYAPP_UPLOAD_STORE_PASSWORD=*****
MYAPP_UPLOAD_KEY_PASSWORD=*****
in the path: android/gradle.properties. Note that I have hidden the password in the form of ***** in the above code segment.
- Last step of project configuration
Sign the app’s release variant with the upload key.
Open the android/app/build.gradle directory from your app.
Add the below-given code segments to the directory
1
2
3
4
5
6
7
8
9
10
11
12
13
14
15
16
17
18
19
20
21
22
...
android {
    ...
    defaultConfig { ... }
    signingConfigs {
        release {
            if (project.hasProperty('MYAPP_UPLOAD_STORE_FILE')) {
                storeFile file(MYAPP_UPLOAD_STORE_FILE)
                storePassword MYAPP_UPLOAD_STORE_PASSWORD
                keyAlias MYAPP_UPLOAD_KEY_ALIAS
                keyPassword MYAPP_UPLOAD_KEY_PASSWORD
            }
        }
    }
    buildTypes {
        release {
            ...
            signingConfig signingConfigs.release
        }
    }
}
...
And now, you have to create the AAB file.
- Building the app’s AAB file
Pass cd android in your app terminal from your code editor.
Also, pass ./gradlew bundleRelease.
Your AAB file is created successfully. It will be stored in your local drive C in the name of app-release.aab.
- Test the release variant
You have to uninstall the app’s versions if installed earlier.
To get the release variant, pass npx react-native run-android --variant=release in your app terminal.
Now, you are all set to distribute or publish the app.
Distributing app to users
- For this, visit the Play Console site.
- Then select the ‘Get started’ option under ‘An organization’ and not under ‘Yourself’.
- Add all the details and click Next.
- You need to add some details about your experience with Android and select ‘Next.
- You will be taken to the page of ‘Developer Account’. Provide the details and continue with all the steps.
- Finally, you will be taken to a page where it will ask you to pay a certain amount for the Registration fee.
- As you pay for the amount, your dashboard for the app you want to publish will open.
- Selection ‘Create app’ button.
- It will take you to the Dashboard section.
- Here, you have to set up the project. With this, I mean to say that you have to complete all the 13 steps mentioned under the section ‘Set up your app’.
- As you complete the steps, your app will be published.
Now, it is done. Your project will be published in the Google Play Store.

A science graduate who has a keen interest to lean about new technologies and research area. With an experience in the field of data analytics and content writing, she aims to share her knowledge among passionate tech readers.


